How to use containers, rows and columns:
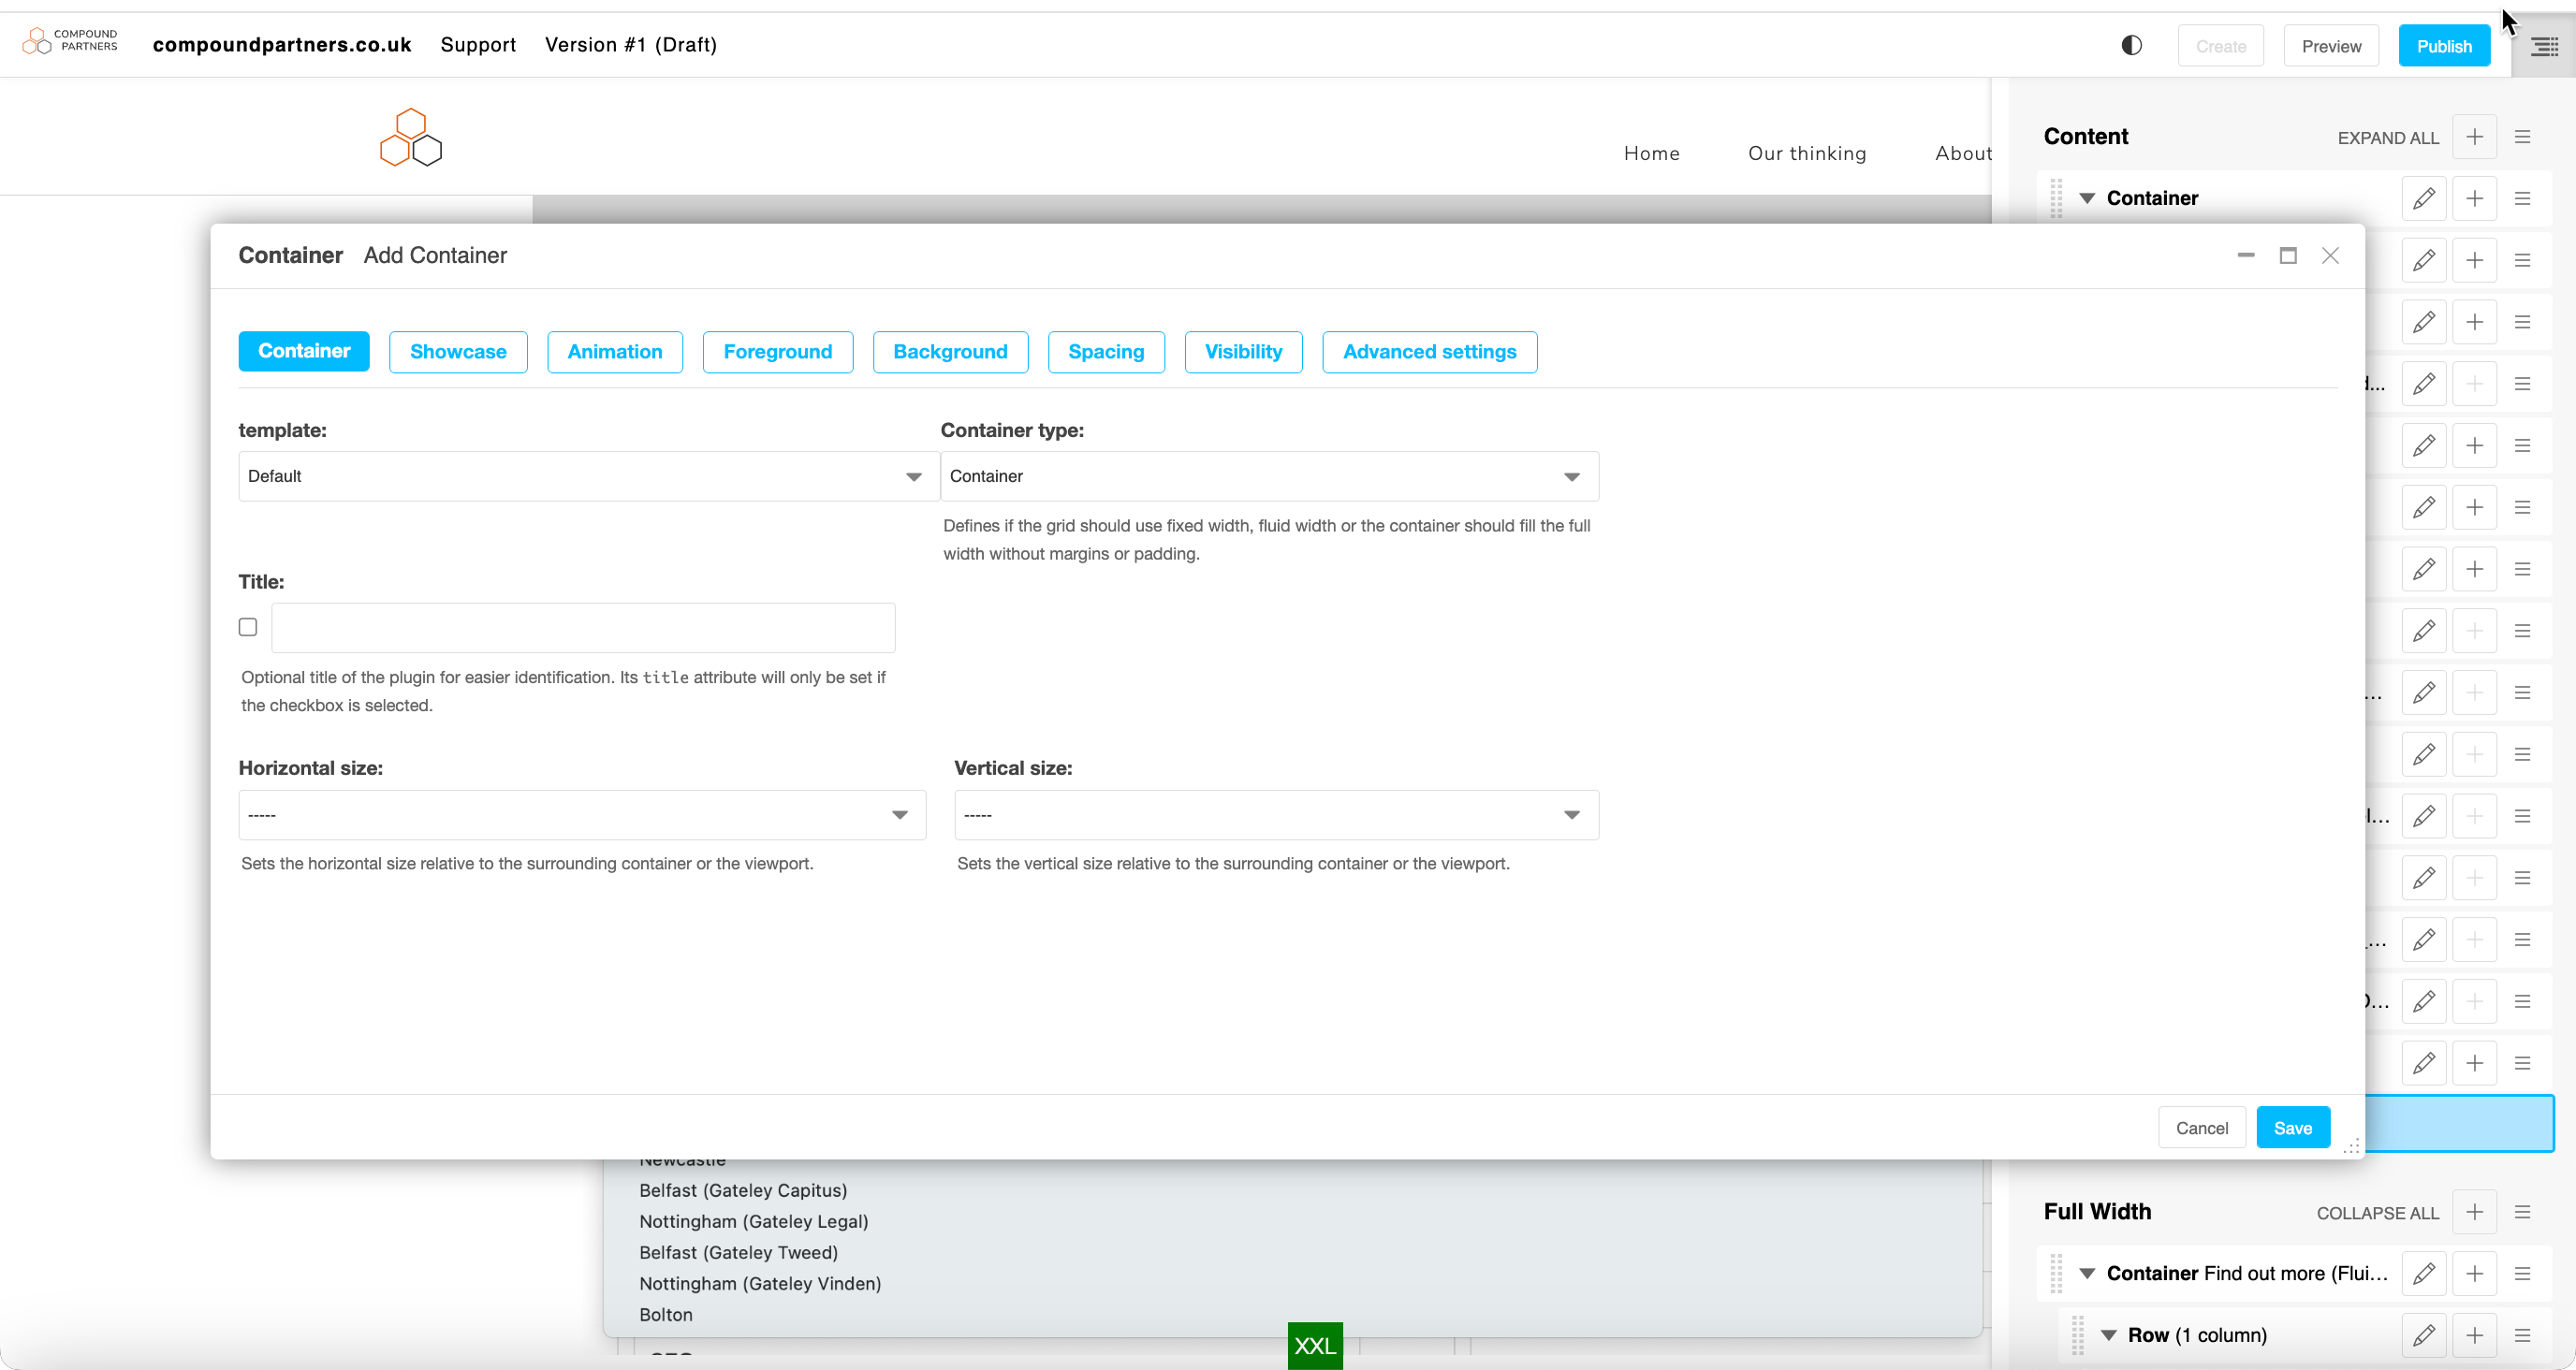
Step 1: Add a container (V4) or add a row (V3)
Before adding columns, you will need to add a container and a row (V4) or a row (V3).
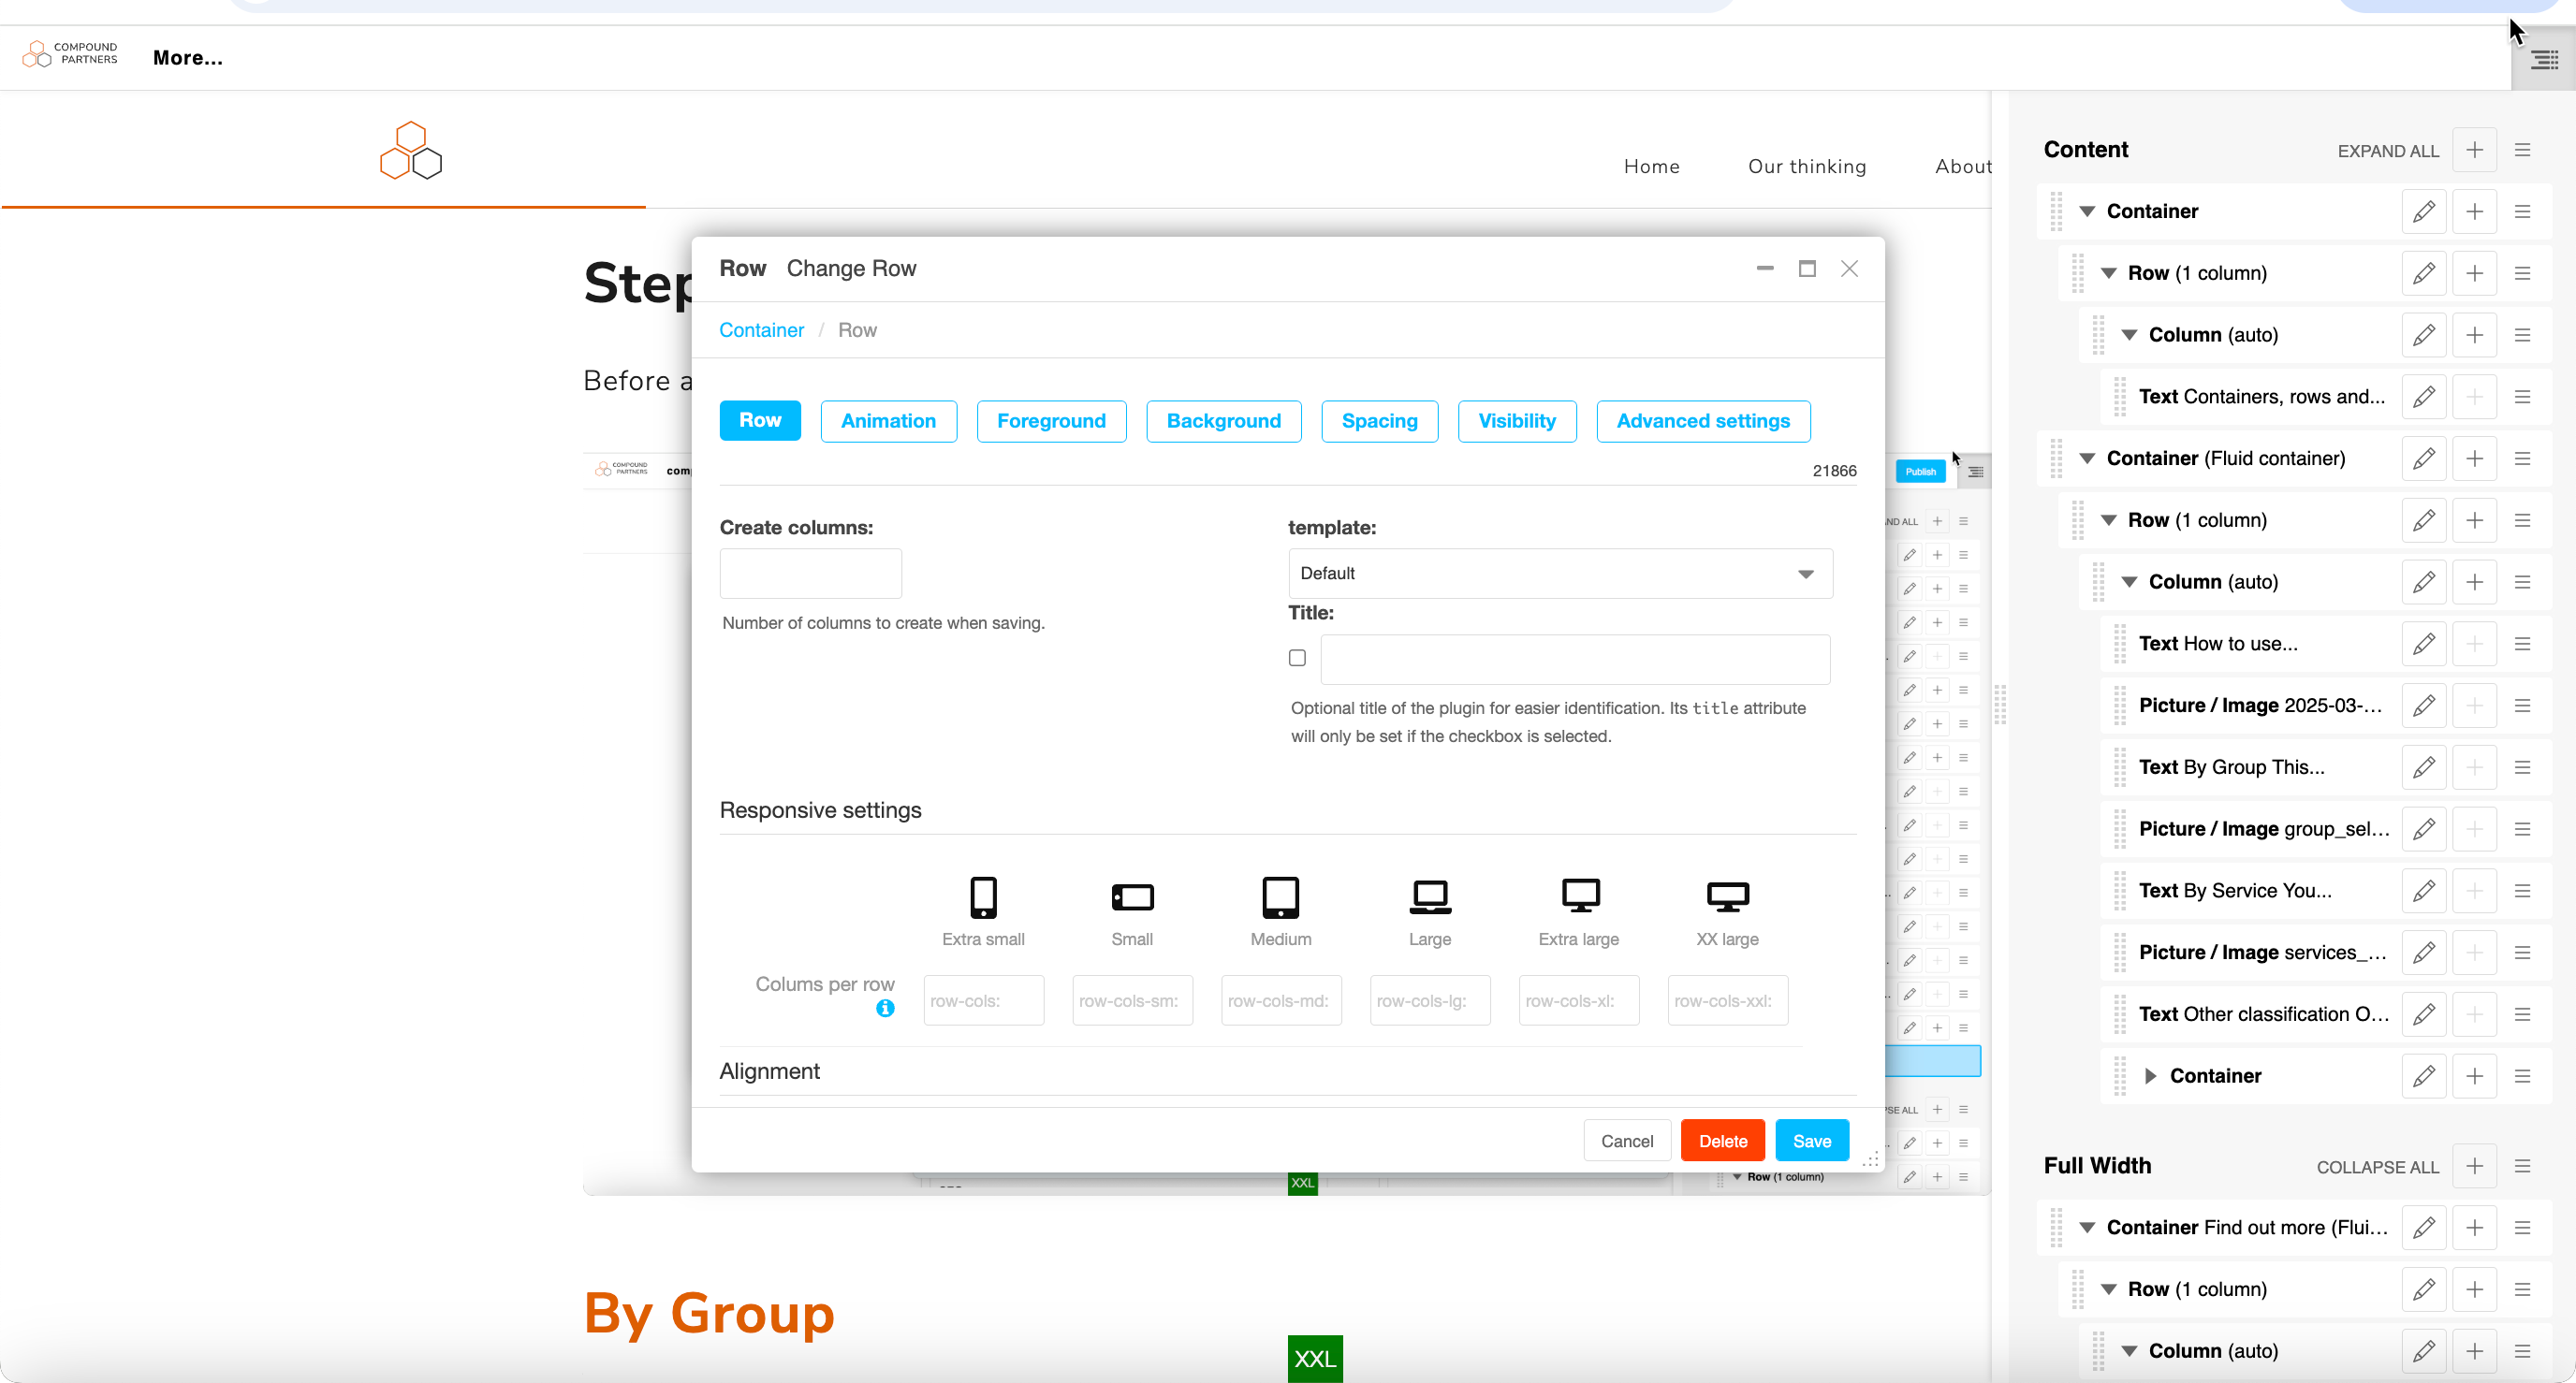
Within the container/row, there are multiple styling options. Feel free to find the correct layout for your page.
You can change the layout of the container/row by selecting a layout from the drop down.
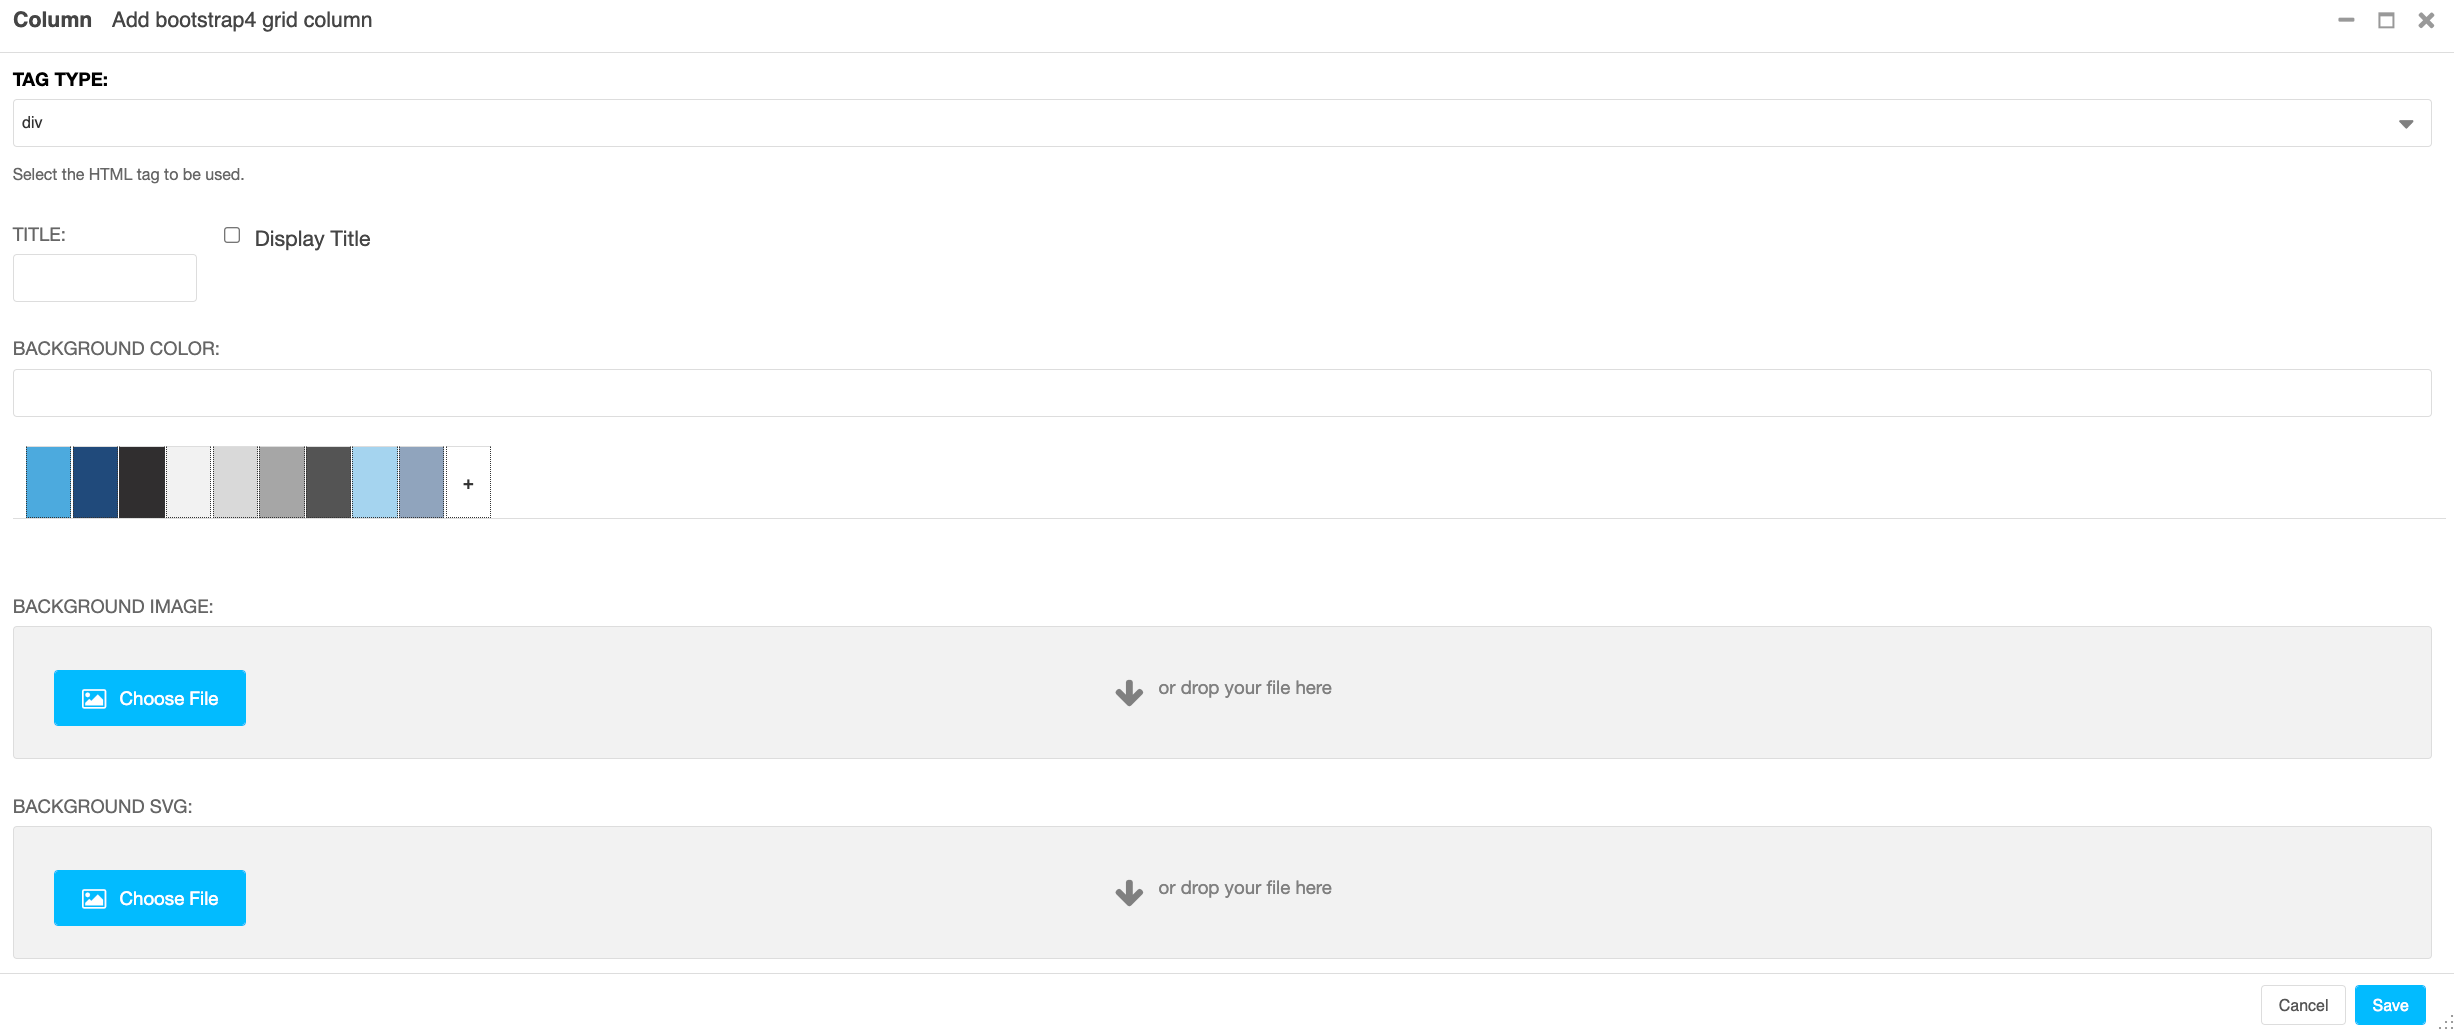
You can add text in the title field to label your row in the sidebar. If you want this title to be displayed on the site, you can tick the 'display title' box.
You can change the background colour of the container/row by selecting a colour.
You can also add an image in the row or add a video into the background.
On containers, you can control the text and back ground colour for the section by navigating to the foreground and background tabs.
On rows, you can only change the background.
Step 2 :(V4 only) Add a row
As it is on V3, you will need to add a row to the container in order to insert columns.
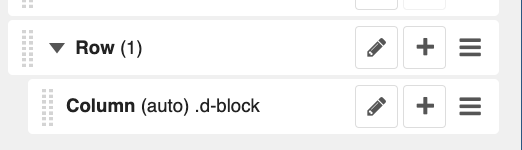
Step 3: Adding columns
Within the row, press the + sign to add a column to a row.
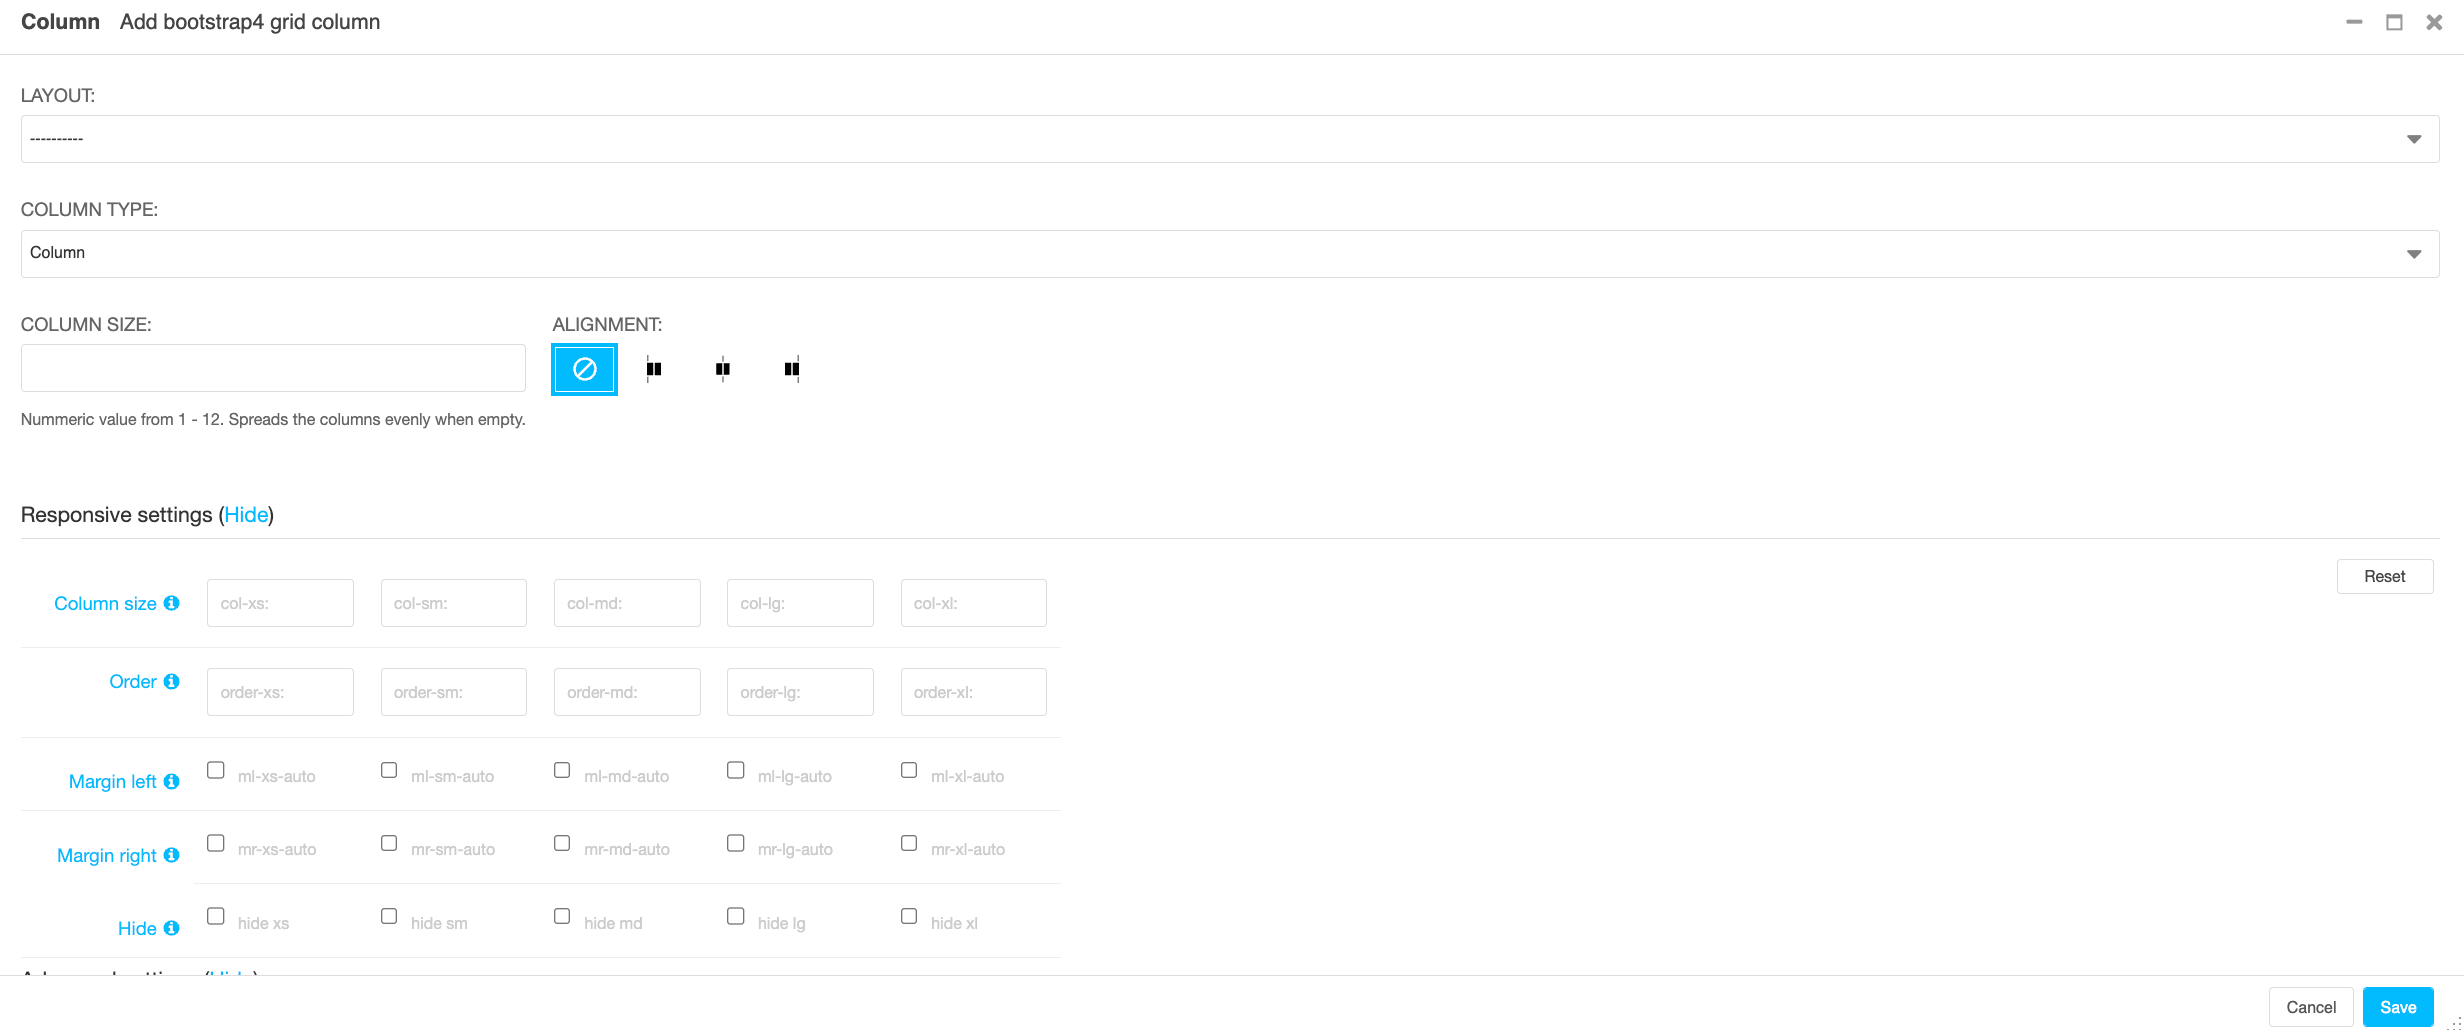
Within the column, there are many options:
You can change the parameters of the column here.
Usually, the column size would be 12.
In the responsive settings, you can change the parameters of the column.
Each column is 12 wide in the setting of the page. So, every column must go into 12 evenly.
In every row, the columns must add to 12, so for example, you can have 2 columns of 6 wide in each row.
You can also have 3 columns of 4, or 4 columns of 3.